Ready to ditch the same old Valentine's Day nail art? 2025 is all about fresh, exciting designs that are both romantic and totally you. We're not just showing you the trends; we're giving you the how-to, with easy steps and product picks to help you nail (pun intended!) the perfect look. Whether you're a nail art pro or a total beginner, get ready to unleash your inner artist!
1. Subtle Hearts: Minimalist Romance
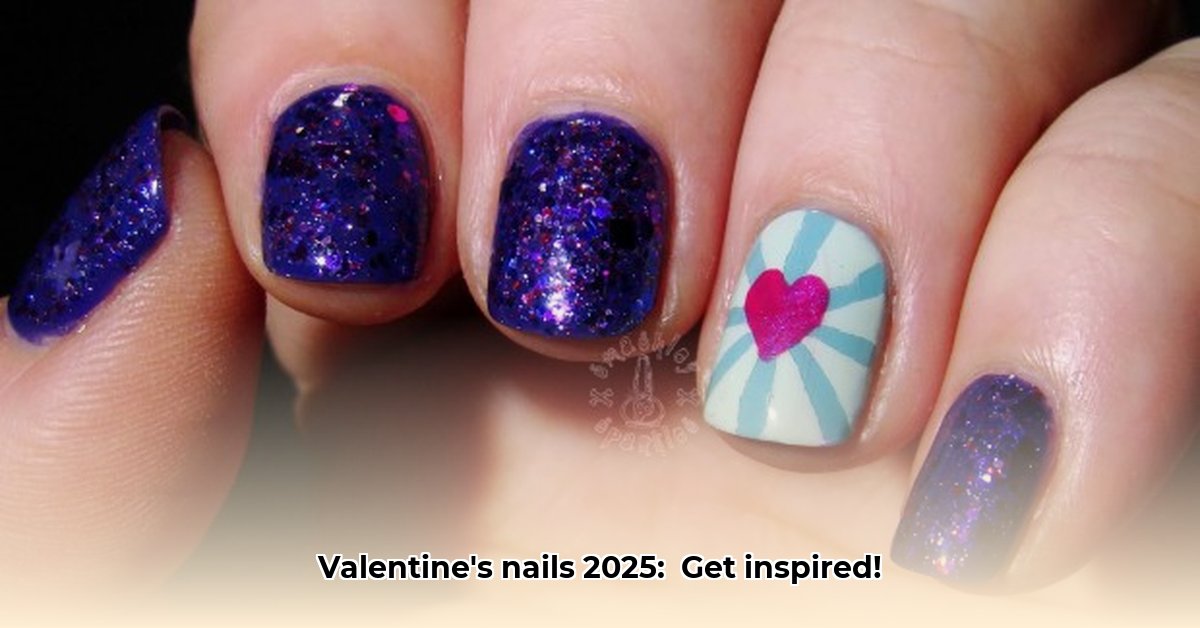
Forget fussy designs! This year, less is more. Think tiny, delicate hearts scattered subtly across a neutral background – maybe just one perfect heart as a sweet accent on your ring finger. It's the perfect touch of romance without being overwhelming. This understated chic is perfect for a sophisticated Valentine's Day look. Isn't a little understated elegance exactly what you're looking for this Valentine's Day?
DIY Steps:
- Start with a base coat (a pale pink or nude is ideal). Let it dry completely. (This ensures a smooth base for your design and prevents smudging).
- Use a fine-tipped nail art brush and a darker polish (burgundy, deep rose, or even a chocolate brown would be lovely) to paint tiny hearts. (Practice on paper first! It's amazing how much this helps).
- Once the hearts are dry, apply a top coat for shine and longevity. (A good quality top coat will protect your design and keep your manicure lasting longer).
Product Suggestions: A fine nail art brush and a neutral-toned polish (creamy beige or soft rose) are essential.
2. Chrome Glam: Shimmering Sparkle
Prepare to shine! Chrome accents are a major showstopper this year. Pair this dazzling shimmer with a classic deep red or a soft pink for a perfectly balanced look. It's elegant, playful, and guaranteed to turn heads. Ready to add some serious sparkle to your Valentine's Day?
DIY Steps:
- Apply your base coat (classic red or pink works well). Let it dry completely.
- Apply a tacky base coat specifically designed for chrome powders. (This is crucial for proper adhesion).
- Carefully apply the chrome powder using a small brush or sponge. (Experiment with application techniques – light dusting or packing on the powder creates different effects).
- Seal it all in with a top coat to protect your shiny masterpiece.
Product Suggestions: Look for highly pigmented chrome powders for maximum shine.
3. Abstract Art Hearts: Modern Romance Redefined
Move over, traditional hearts! This season, abstract hearts are taking center stage. Think smudged, fragmented, or geometric designs—artistic, unconventional, and totally unique. It's the perfect approach for expressing your individuality through nail art. Did you know that abstract nail designs are one of the fastest-growing trends in the nail art world?
DIY Steps:
- Begin with a light base coat. Let it dry.
- Using different shades of pinks, reds, and even whites, create a watercolor effect by dabbing colors onto the nail and blending them gently with a small brush or even a toothpick. (Practice makes perfect!)
- Use a dotting tool or fine brush to add small, abstract heart shapes.
- Seal with a top coat for a long-lasting, dreamy finish.
Product Suggestions: Experiment with gradient polishes or a mix of cream and shimmer polishes for added depth.
4. French Manicure Remix: A Classic with a Twist
The French manicure is a classic for a reason, but this year, we're giving it a Valentine's Day twist! Think colored tips in romantic hues, tiny hearts incorporated into the design, or playful color combinations. This style is perfect for keeping your look sophisticated and romantic. Did you know that the classic French manicure has been around for over 100 years?
DIY Steps:
- Begin with a neutral base coat.
- Apply striping tape to create a clean line for your colored tips, or try freehand painting.
- Apply your chosen color to the tips. Remove the tape carefully before it dries completely.
- Add tiny hearts or other embellishments if desired.
- Finish with a top coat.
Product Suggestions: Thin striping tape or a small, fine brush for freehand.
5. Anti-Valentine's Day: Embrace Your Style
Not feeling the traditional Valentine's Day vibe? No problem! 2025 is all about embracing your own style. Go bold with black and white, dark ruby, or fierce metallics. This isn't about rejecting love; it's about celebrating your unique personality. A bold manicure is a bold statement!
DIY Steps:
- Start with a base coat of black or white.
- Use striping tape (or freehand) to create a negative space design (e.g., a heart).
- Paint the remaining space with a contrasting color.
- Carefully remove the tape before the polish sets.
- Finish with a top coat.
Product Suggestions: Matte polishes for an extra edgy look.
6. Barbiecore Hearts: Bold and Fun
Bold, bright, and totally playful, Barbiecore hearts are making a statement! Whether simple or intricate, the key is vibrant pink. Inject some playful energy into your Valentine's Day look! Are you ready to channel your inner Barbie?
DIY Steps:
- Apply a base coat of vibrant pink.
- Apply stencils for perfectly shaped hearts or freehand some.
- Add sparkle with glitter for an extra touch of fun.
- Seal with a top coat.
Product Suggestions: Bright, neon pinks to really capture the Barbiecore essence.
7. Textured Nails: Beyond Color
This year, texture adds a whole new dimension to Valentine's Day nail art. Think glitter, rhinestones, matte finishes, or even 3D embellishments to give your nails incredible depth. Remember to find a balance between color and decorations to achieve the perfect look. Textured nail art is a true testament to the artistry of nail design.
DIY Steps:
- Prepare your nails with a base coat.
- Apply your chosen polish color.
- Once dry, carefully apply your embellishments (glitter, rhinestones, etc.) using a dotting tool or tweezers.
- Seal everything with a top coat.
Product Suggestions: Explore different types of nail embellishments—the possibilities are endless!
Ultimately, the best Valentine's Day nail art is the one you love! Experiment, have fun, and rock the look that makes you feel confident and beautiful.